Sunday 28 April 2024

Sunday Snippets - Birthday Celebrations!

Very recently a special friend celebrated her Birthday and this is the card I made for her: 

I used: 

- 5.5" x 4.25" white card blank, side opening

- a snippet of Tonic pearlescent 'Luna Silver' card, trimmed to 5.25" x 4" and set to one side

- a snippet of white card trimmed to 5" x 3.75", with a round stitched aperture die cut using Marianne's set of dies - CR1630

- next step was to stamp a sentiment - I used a Delicata 'Silvery Shimmer' ink pad and a stamp from Penny Black's 'Special Thoughts' set. Originally I'd planned to then clear emboss the stamped sentiment but the match to the pearlescent  silver backing card was so spot-on that I decided not to risk ending up with too shiny a look

- amongst my more precious snippets I'd been saving a lovely embossed piece of white card, used by a friend  to protect a card she sent to me some time ago - so I backed the aperture I'd cut into the white layer with it

- and then the fun began! I die cut two layers from snippets of SU's 'Certainly Celery' card using a die by Jeannie's Art called 'Butterfly Touch - Butterfly Corner'. I'd had the die for some time and this was a first play as I'd half suspected it would be tricky - and I was right as the die cuts seemed to have a life of their own when I was gluing the layers together!

- used snippets of some Lindy's Magical Shaker backgrounds to die cut the teeny little butterflies in pink and lilac and glued them on top of the butterflies that are part of the main die - wham! Suddenly the die cut really came alive

- I added three butterflies to the bottom right hand corner of the card front to add more balance and popped a teeny little flat backed silver gem onto each butterfly

- final step was to layer the finished white panel onto the 'Luna Silver' one,  then add it to the card front using narrow foam strips (Amazon sell them HERE) and of course I used the 'glue stick trick' 

- finished!

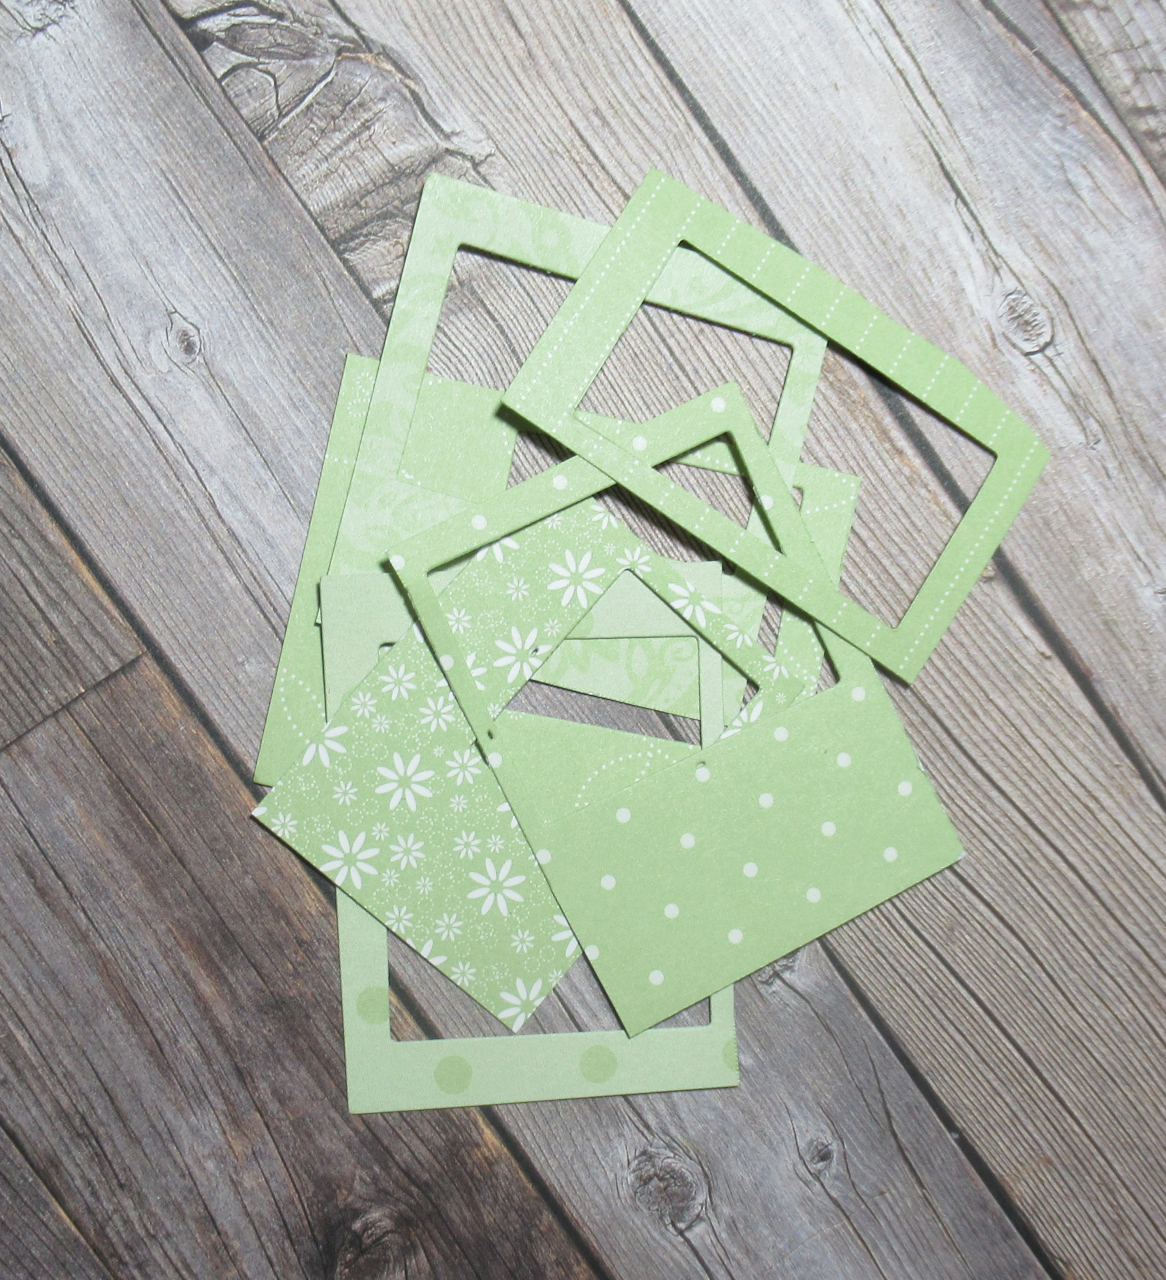
Apologies, I did use a lot of snippets, all are mentioned in the words above but totally forgot to take a before or after photo of them!

I'd like to enter this card into Darnell's NBUS Challenge #61 HERE, the Marianne set of dies was having a first outing

Dudley Pupdate: Nothing stunning to report, with the recent reasonable weather Dudley is actually enjoying his walks rather than tiptoeing around puddles! Bring on the sunshine. 😀

Sarn has just kicked off a new challenge over in the Snippets Playground HERE. Hope to see you on the swings, after last week's St George's Day pantomime, complete with Dudley dressed up as a fire breathing baby dragon, I dread to think what sh'e got planned for this week!! 

Love as always, Dudley Dog and me,


Thursday 25 April 2024

Rudolph Days - April 2024

I was delighted when my entry into Rudolph Days Challenge in March was picked as one of the top three. And am even happier to be this month's Rudolph Days Guest Designer HERE - thank you so much Helen! 

This is my card:


I used:

- 5.5" x 4.25" white card blank, side opening

- a backing piece of Tonic pearlescent 'Red Velvet' card, trimmed to a whisker under the size of the card front

- a snippet of really lovely holly patterned silver card, which I think was used by a friend to protect the Christmas card she enclosed it with - and I've saved it ever since, today is its day to take a bow!

- die cut the snippet of silver card using a die from the Taylored Expressions 'Petite Scallop Rectangle Stacklets' set, to make the main front panel. There was literally just a whisker of waste left on all four sides after the cutting was done

- used a snippet of white card and trimmed across it using a Spellbinders 'Curved Edge' with a line of stitching die

- then die cut the bottom edge and up the sides in one do using the scallop edge die I'd used on the silver background 

- glued the white piece onto the bottom of the silver panel

- glued the red layer and the silver panel onto the card front

- then came the drawn out part - die cutting the deer and all the extra bits and bobs ..... all from snippets using a Spellbinders die set called 'Magical Deer'

- the white body and head are double layered and the 'beard' plus the  piece down the centre of the face were die cut using a snippet of 'pale ivory' linen card, on the reverse smooth side

- the little cutouts on the deer's face and body were backed with snippets of red velvet card - used the same red velvet card for the cover/saddle  over the reindeer's back

- the antlers were die cut using a dark brown card snippet, which I then topped with second layers, die cut from a snippet of black velvet card

- the little hooves and nose are die cut from black velvet card and the ears and tail had a little bit of pink die cut card added

- ran away for a rest

- glued the main body with the additional pieces in place to the card front

- then used very narrow red line tape to stick the bottom part of the antlers to the back of the deer's head before adhering it to the image using glue pen for the antlers and small pieces of thin sticky pad for the actual head - to give it some dimension

- die cut a selection of red, pink and white flowers and adhered them to the deer's antlers

- final touch - added some tiny flat silver gems to the flower centres - plus one last cheeky one, right in the centre of the deer's cover/saddle

- tottered away ................ and lay down in a darkened room to recover!

This might well be the only time I ever use this die set - I just counted 32 die cut shapes, 34 if you count the double layering of the main body and head. It seemed to be never ending!

Didn't add a sentiment as it's already busy enough. Besides, reindeer in snow with a background of holly patterned paper and sparkly touches sort of points to Christmas, IMHO.

I'd also like to enter this card into the following challenges:

Christmas Kickstart Challenge #85 HERE. The theme is 'Santa and his Sidekicks' - any deer surely is one of the best known of Santa's sidekicks!

Darnell's NBUS Challenge #61 HERE. The 'Magical Deer' set of dies was having its first (and possibly last) outing here.

You have until the end of the month to enter all three challenges I've linked to in this post. Go on, you know you want to.


Sunday 21 April 2024

Sunday Snippets - Penny Black Stickeroo to the rescue

It's been another one of those weeks here, where time just flies by. I suddenly realised on Friday that I needed to make a snippets card - having been focused on other cards, as well as other stuff going on here. I reached out for the little packet of Stickeroos that I keep close at hand, already mounted onto snippets of toning card - and within 30 minutes had produced this:


I used:

- 4.75" square pale ivory linen card blank - tent opening

- then die cut the Penny Black Stickeroo on its snippet backing layer of SU 'Certainly Celery' card using a Marianne Craftables 'Stitched Circle' die - CR1360. The Stickeroo is from the Penny Black 'Gentle Blooms' sheet of stickers BTW

- I then used a NBUS die from Gummiapan called 'Scalloped Pointy Border', bought a while ago in one of their sales, and cut part of the bottom of the card front away

- found a piece of deep teal blue card to pick out the colour of one of the flowers, trimmed it to 4.75" square and glued it to the inside of the card front

- finally, used thin sticky pads (and the glue stick trick) to adhere the image to the pale ivory portion of the card front - didn't add a sentiment as it's a 'general purpose' card

- finished!

I only used one snippet - the backing layer for the Penny Black Stickeroo.

I'd like to enter this card into the following challenge:

- Darnell's NBUS challenge #61 - HERE - the Gummiapan Scalloped Pointy Border was having its first outing as well as the Marianne set of stitched circle dies. 

Dudley Pupdate: Before long, Dudley will need a bath as a slight doggy 'hum' is faintly there when you snuggle up really close to him. He has hair, not fur, therefore is less prone to 'doggy hum'. But, he's due an application of anti-flea and worming meds between his shoulder blades and we like to leave a week either side of that before any baths. So, I bought some proper 'doggy cologne' - which actually smells like baby powder, very much like his shampoo. On Friday I gave him a couple of sprays down his back to test it out and the result was hilarious. 

As a result we had wild 'zoomies' all around the house - followed by a lot of rolling and rubbing, same as after a bath! As well as some well choreographed wiggly hip moves! So funny .......... I half expected him to get up on his hind paws and launch into a John Travolta Saturday Night Fever Bee Gees 'You Should Be Dancing' routine! Never a dull moment. Check the link then imagine Dudley in John T's place! Snort. 😉

Remember, the results from Challenge #477 are now published in the Snippets Playground HERE. Hope to see you on the swings for the current challenge too as that runs for almost another week.

Love as always, Dudley and yours truly,


Sunday 14 April 2024

Sunday Snippets - Butterflies!

Here's my snippets card for this week:

My leftover snippets - yay, I remembered to take a photo!
I used:

- 5.5" x 4.25" white card blank, tent style 

- grey backing paper from Echo Park's 'Be Mine' paper pad (it's actually the reverse of a sheet printed, using the same grey that features in many of the designs - handy 😀), trimmed to the same size as the card front and glued in place 

- another sheet of paper from the same pad, this time patterned, trimmed to 5.25" x 4" and glued in place on top of the grey layer

- then came the snippets - the previous day I found some offcuts of Strathmore Mixed Media card and played around making backgrounds using Lindy's Magical shakers - all from the 'Tea and Crumpets' range

- I chose to die cut the black top layers from a snippet of black 'velvet' card' first, using two dies from the Sizzix 'Detailed Butterflies Mini' set and put them aside for now

- used the leftover apertures so I could choose whereabouts from the backgrounds to die cut the bottom layers of the butterflies

- die cut the bottom 'solid' layers from the backgrounds already made using 'Lindy's Shakers', then ran them through the Gemini to emboss them, using the same dies

- glued the black die cut layers onto the embossed base layers

- final step was to add both butterflies to the card front, using snipped up thin sticky pads

It's a shame that the shimmer doesn't show up - especially in the purple butterfly. The embossing step was SO worthwhile, again in real life!

I'd like to enter this card into the following challenge:

- Darnell's NBUS challenge #61 - HERE - the butterfly die set I used is NBUS, 

Dudley Pupdate: At last, we've had some sunshine here and the difference it's made to Dudley is so heartening. He adores playing in the dry back garden, zoomies are his speciality, some lovely dry walks and he races back indoors with such a sweet lopsided grin on his face! Happy dog, happy home!

Remember, I've just kicked off a new challenge over in the Snippets Playground HERE. Hope to see you on the swings!

Love as always, Dudley Dog and me,


Sunday 7 April 2024

Sunday Snippets - THAT postage stamp die set

Spring is really teasing us here - temperatures are rising at times and the sound of lawnmowers drifts across to us - in our easy care revamped garden. Len is a happy guy for sure, and the wildlife still visit as well. But then it rains and blows a 'Hoolie'! 

Very last minute snippets card from me - using one of the currently hugely popular 'postage stamps' set of dies in 'simple mode':

My leftover snippets of the 'Certainly Celery' papers - sob, only a few tiny scraps left now
I used:

- 5.5" x 4.25" white card blank, side opening

- first of all I used white card, the same as the card blank, to die cut the main outline of the card topper using an unbranded die 

- then trimmed some plain SU 'Certainly Celery' card for the bottom layer and also some deep purple slightly shimmery paper for the next layer

- glued both those layers onto the card front

- then die cut the snippets of SU's 'Certainly Celery' paper pack, using the dies to match the faux apertures in the main outline

- glued the patterned snippets onto the outline die cut, using a glue pen

then used the same glue pen to glue the whole outline panel onto the card front

- stamped the sentiment onto a snippet of white card, using a LOTV stamp from their sadly discontinued and still very much loved by yours truly 'General Greetings - Small' set of stamps - using a VersaFine Clair 'Monarch' ink pad (gorgeous colour!)

- used a SU plain small oval punch to punch out the sentiment

- used a snippet of the left over purple glimmer paper to punch out a SU scalloped small oval

- glued the white sentiment onto the purple scalloped oval

- used thin sticky pads to adhere the completed sentiment to the card front 

- added a strip of the patterned paper to the envelope flap and called it finished

I learned a few things along the way. The idea of using papers from the same colour range is better in theory than in practice.  In real life the card does them justice, but on camera and unless you're close up they really are too similar to give it that 'Wow' factor. Tiny backing layers of the purple paper to frame each of the 'Certainly Celery' panels would give more definition - but I thought of that one too late. The way to do that, IMHO, would be to die cut the purple layers for each 'aperture' then do the same with  the patterned paper but also trim a little sliver from the top and one side of those patterned papers to create a narrow margin all round the patterned paper layer. Next time, I might well give that a whirl!
 
I'd like to enter this card into Darnell's NBUS Challenge #61 HERE - the die set was having its first outing.

Dudley Pupdate: For the past week or so, Dudley has been rather subdued. He's eating fine but he's often in a little dream world of his own. Physically everything is working as normal but we're watching him closely and he will be off to the vet if need be - before he can even say 'I wanna treat for going'!  It could just be that, like us, he's fed up with all the damp weather and longing for Spring to arrive properly.

Having said that - he still put up a jolly good fight on his hind legs when I was grooming him yesterday afternoon. Overall the match was a draw, although I'm sure that Dudley scored a few below the belt hits! What can you do when a little fluffy white face with beautiful eyes plants itself on your 'chest shelf' and silently appeals 'Enough Mama, enough please!'?

Very importantly, the results of Challenge #476 are now published HERE

Do please come and play in Sarn's current challenge over in the Snippets Playground! 

Love from myself and Dudley,